Quantcast
Channel: DIYdancer » Paper
Viewing all articles
Browse latest Browse all 8

DIY Tutorial: Summer Wedding Gift

$
0
0
Summer is hands down my favorite season.  I love the sunshine and the heat, outdoor adventures and backyard barbeques–Summer always brings lots of fun and in my opinion, there’s just no topping it.  But lately the Summer season seems to bring something else–Weddings! I suppose it’s just the age I’m at, but for the past few years every Saturday from mid-June to late August seems to have been swallowed up by various weddings and wedding-type activities (showers, bachelorette parties, etc.)  And as much as I love a good nuptual and all the pomp that goes with it, I’m finding that my wallet suffers the most during these wedding-packed summer months.
I’m sentimental and when it comes to wedding gifts I’d rather give something with meaning than simply something off a registry.  That’s not to say I don’t buy registry gifts (I always do) but I like to include a little something else too, something a bit more personal.  And what’s more personal than a handmade Memory Box?  It’s easy to make, completely personal AND the cost is incredible low.  Save your money and make a great and lasting gift for your bride-to-be pals!  Here’s the how-to:

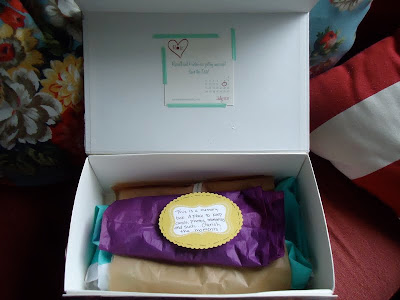
1.  Find a box that is sturdy and large enough to hold most pictures and cards (this one is from Anthropologie this past Christmas.)

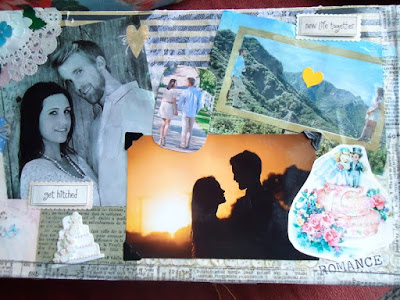
2.  Print out pictures of the happy couple (nowadays people often put their professional quality engagement shots on Facebook, giving you the perfect selection of shots for free) just on regular copy paper.

3.  Gather scrap paper, wedding themed stickers and embellishments.  Anything you want to use to decorate the box–buttons, paper flowers, Japanese masking tape, etc.  I also printed some vintage wedding postcards off the internet.

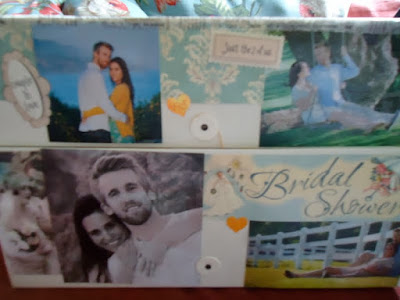
4.  Arrange all your pictures and embellishments on the box in a collage and one you have everything where you want it, glue everything down.

5.  Finally cover the whole box in Paper Mod Podge using a wide paint brush.  This will help seal all the photos and paper down and give your collage a glossy and professional look.  Sometimes the colors of the photos will bleed a bit with the mod podge, but just keep brushing till you get the colors smoothed out…I kind of like it when it blurs the colors a bit!

And that’s it!  If I have the couple’s Save the Date or Invitation, I’ll usually attach it to the inside of the lid, and sometimes I’ll include a note to explain the purpose of the box (to keep mementos from the wedding.)


Happy Crafting!

Share


Viewing all articles
Browse latest Browse all 8

Trending Articles